Furnace Tubes And Insulation Check
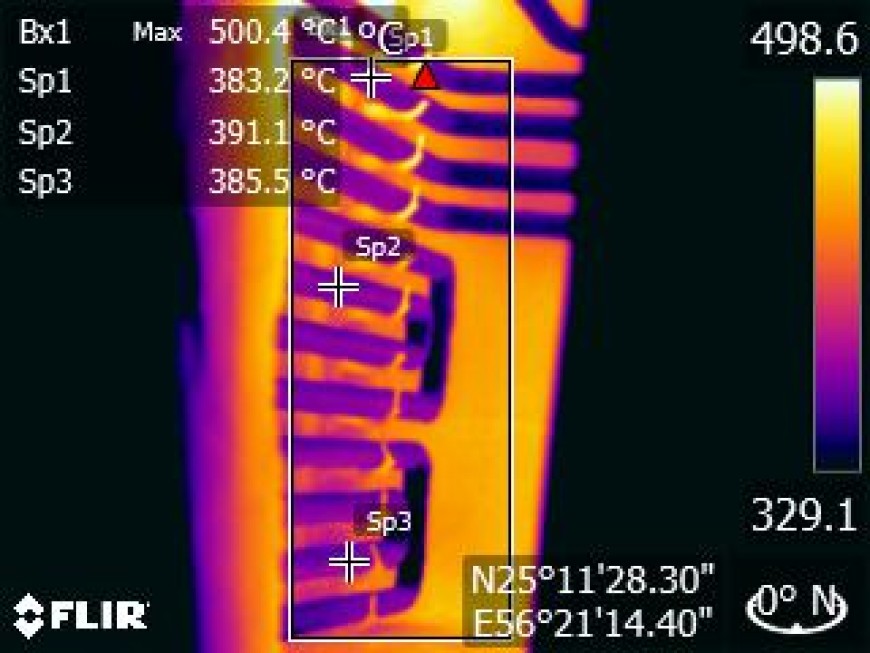
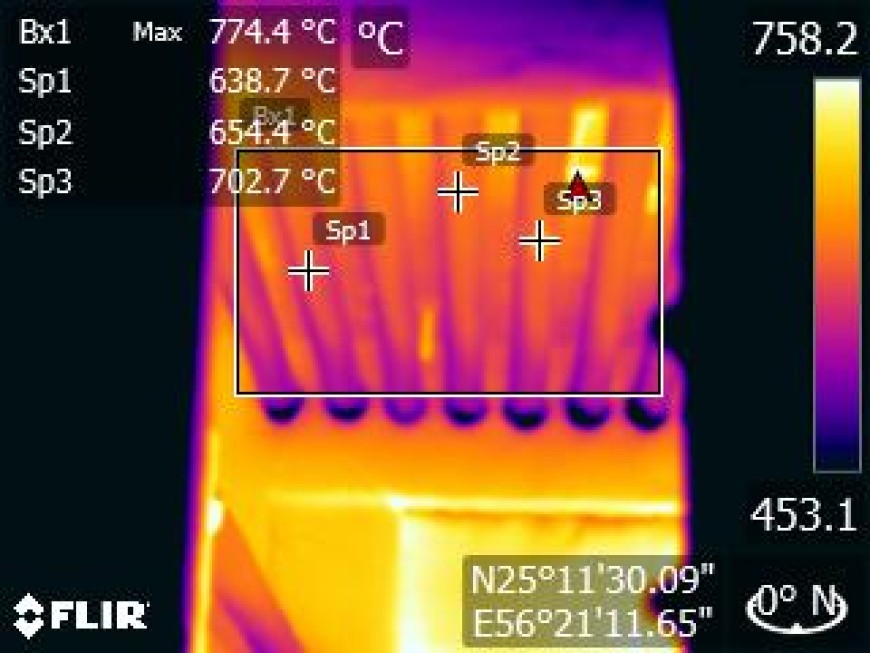
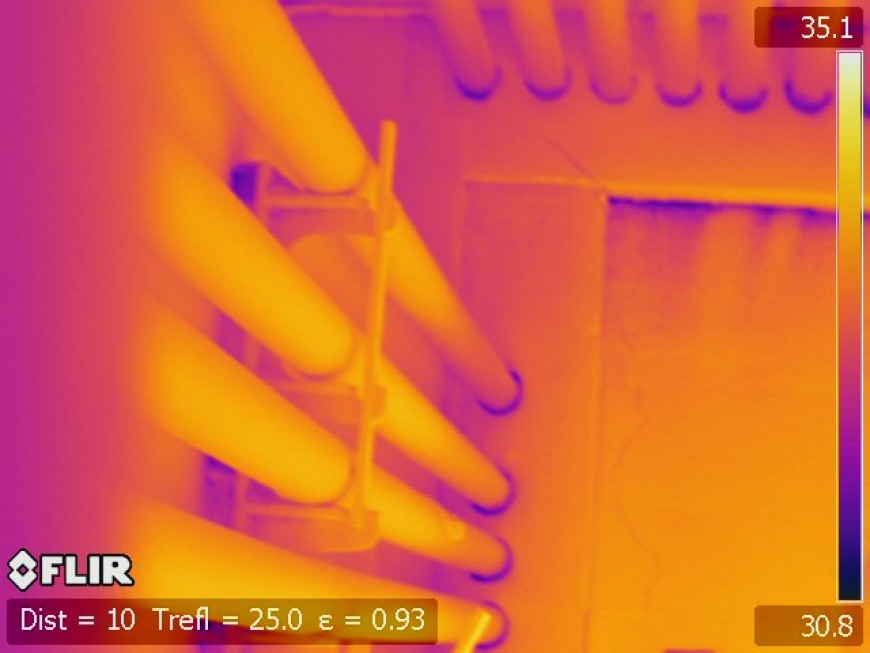
Tubes on a firebox or furnace can overheat and rupture, starting an uncontrolled fire and other collateral damage. Refractory damage and improper burner alignment can also cause overheating and break down, resulting in downtime and a personnel safety issue—especially near inspection ports and ladders. That’s why it’s crucial to routinely inspect and assess the condition of the external steel firebox, tubes, and supports using a furnace inspection camera with thermal imaging capabilities. This kind of cameras allows inspectors to look through gas flames and determine whether localized internal coking is occurring, or if it’s external scaling.
In many furnace designs, flame patterns tend to obstruct naked eye viewing of the tubes, precluding visual inspection of the tubes. Properly equipped thermal imagers like FLIR GF309 may be utilized to allow imaging of the interior of the furnace, even through visually opaque flame.
Internal temperatures of furnaces can be more than 1700°C. The steel tubes inside the furnace could not withstand these temperatures without the cooling effect that the pumped product provides. Without proper flow, tube life can be shortened considerably. In addition to insufficient oil flow, tubes can develop hotspots for a variety of reasons.
The process of checking furnace tubes and insulation typically involves the following steps:
- Safety Precautions: Before starting any inspection or maintenance work, ensure that appropriate safety measures are in place. This may include wearing personal protective equipment (PPE), shutting down the furnace, and isolating power sources.
- Visual Inspection: Perform a visual inspection of the furnace tubes and insulation. Look for any signs of damage, such as cracks, leaks, or deformities in the tubes. Check for discoloration, erosion, or corrosion on the inner and outer surfaces of the tubes. Inspect the insulation for signs of wear, moisture damage, or loose sections.
- Measurement and Documentation: Use appropriate measurement tools, such as calipers or ultrasonic thickness gauges, to measure the thickness of the furnace tubes. Record these measurements for future reference. Take note of any deviations from the recommended thickness specifications.
- Leakage Testing: Conduct a leakage test to determine if there are any gas or air leaks in the furnace tubes. This can be done by pressurizing the tubes with an inert gas and using a gas detector to identify any leaks. Ensure that all connections are secure and properly sealed.
- Insulation Integrity Check: Check the integrity of the insulation by visually inspecting for any gaps, cracks, or damage. Insulation plays a crucial role in maintaining heat efficiency, so any compromised sections should be repaired or replaced.
- Repair and Maintenance: If any issues or damage are identified during the inspection, make the necessary repairs or replacements. This may involve welding, sealing, or replacing faulty tubes. Damaged insulation should be replaced to maintain thermal efficiency.
- Functionality Testing: After completing the inspection and necessary repairs, conduct a functionality test to ensure that the furnace is operating properly. Monitor the temperature, pressure, and other relevant parameters to verify that the furnace is functioning within the required specifications.
- Documentation: Maintain detailed records of the inspection findings, repairs, and maintenance performed. This information will be useful for future reference and for establishing a maintenance schedule.
It is important to note that the specific process may vary depending on the type of furnace, its operating conditions, and any applicable industry standards or regulations. It is recommended to consult the manufacturer’s guidelines and follow any specific instructions provided. Additionally, it is advisable to involve qualified professionals or technicians with experience in furnace maintenance and inspection.


